Yes, half an hour is enough for you to build your online store with Shopify.
In doing so, you’ll join over 1,700,000 businesses using the platform.
How to create a Shopify store?
Step 1: Create a Shopify account
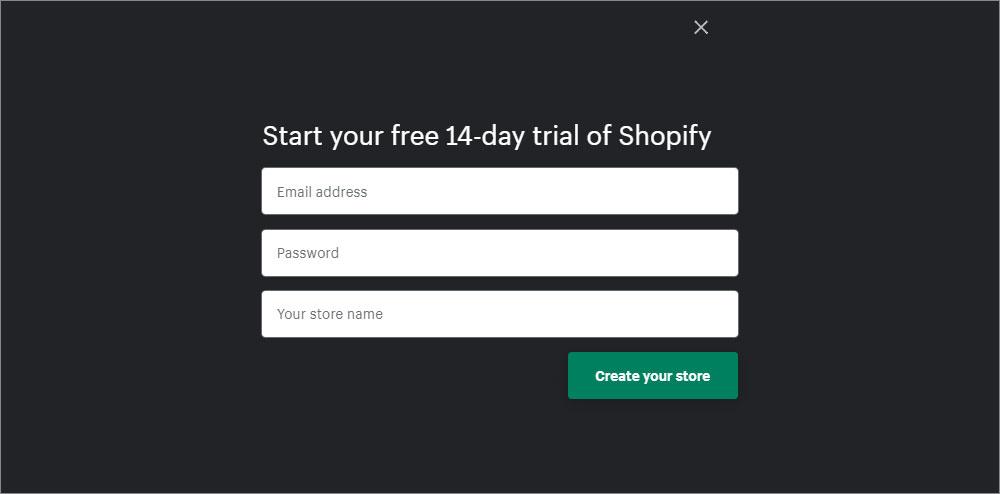
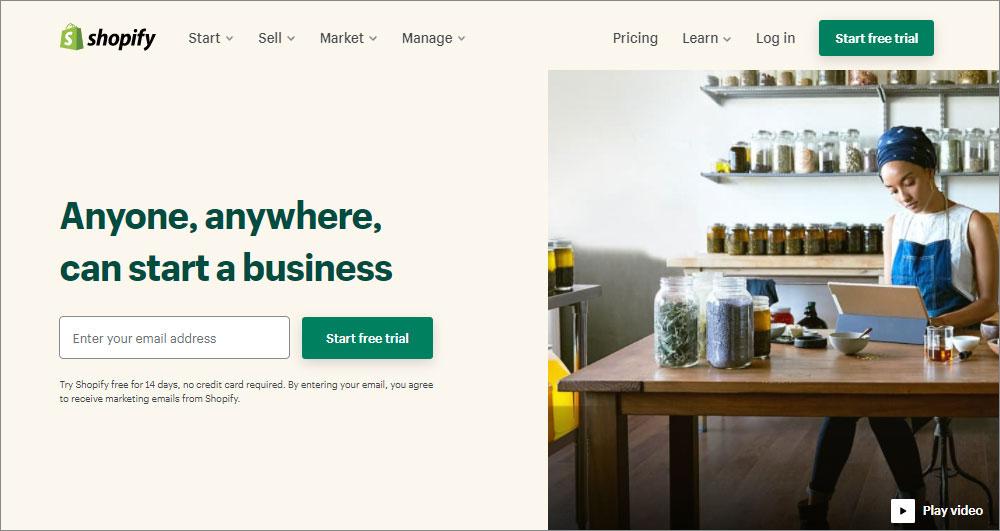
Head over to the Shopify website. Click on ‘Get Started.’ Enter your email address and password. Furthermore, enter your store name as well. The name will become the website’s URL. The URL will look like yourbusiness.myshopify.com.
You can never change the store name. However, you can buy a custom domain. Thus, your website URL will look like yourbusiness.com. (Note that you can showcase your products with a free 14-day trial. In this case, you must buy a plan to sell products. Shopify offers four plans. Check the website for details.
Step 2: Add product details
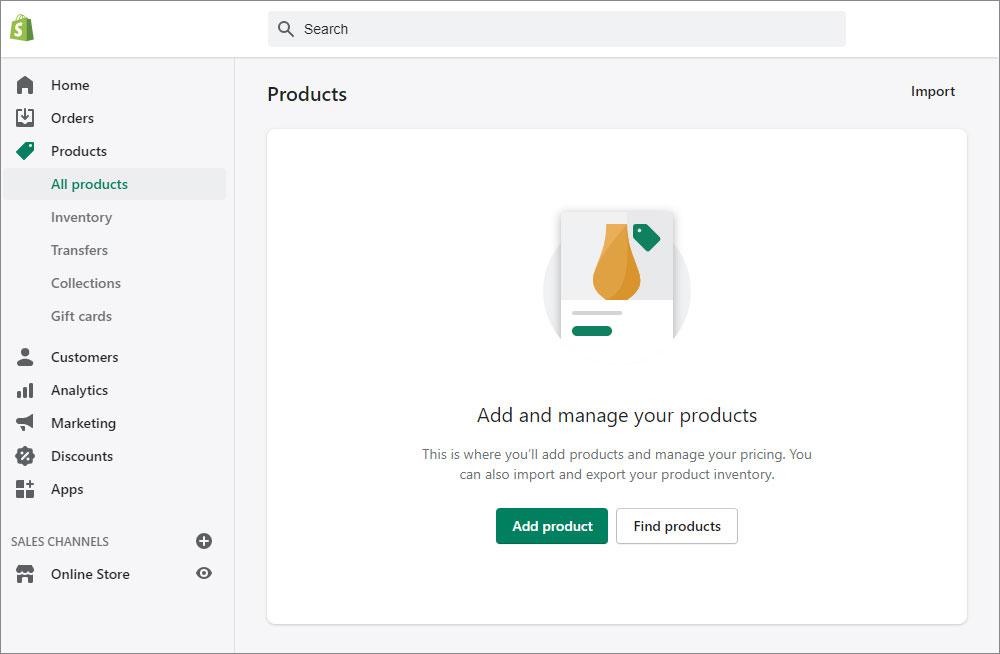
Next, you go to the ‘Products’ tab. Click on Add Products. The ecommerce website builder will redirect you to a page editor. Here, write a short title that describes your product the best. Potential customers will see the product title first.
Furthermore, write a product description of 250-300 words. While Shopify never puts a cap on maximum word count, a 500-word description will read too long. Divide the product description with short paragraphs, bullets, and subheadings.
Visitors cannot touch, taste, or feel your products online. Thus, visitors decide to buy (or not buy) your products from visuals. Upload high-resolution photos and videos. Customers shy away from buying products with low-resolution photos.
Maintain the same aspect ratio for all your product photos so that every product photo will appear in the same size. Thus, the uniform look creates a professional appearance website visitors love. Upload 4-5 photos from different angles.
Furthermore, you can do basic photo edits, including resizing and cropping within Shopify. Or you can choose to centralize data in a modern PIM tool, where you can set your image and content standards and neatly manage all data from one place. This will cut out manual data entry in Shopify, and avoid the use of spreadsheets to gather and edit content. Plytix, a PIM for Shopify, allows you to optimize, format, and take your content to Shopify from a single source of truth.
All you have to do is set up a channel feed, and syndicate all your updated information to your storefront. This is an efficient way to ensure copy is consistent, accurate, and complete. It saves you time and gets your products to market faster.
Step 3: Include the price
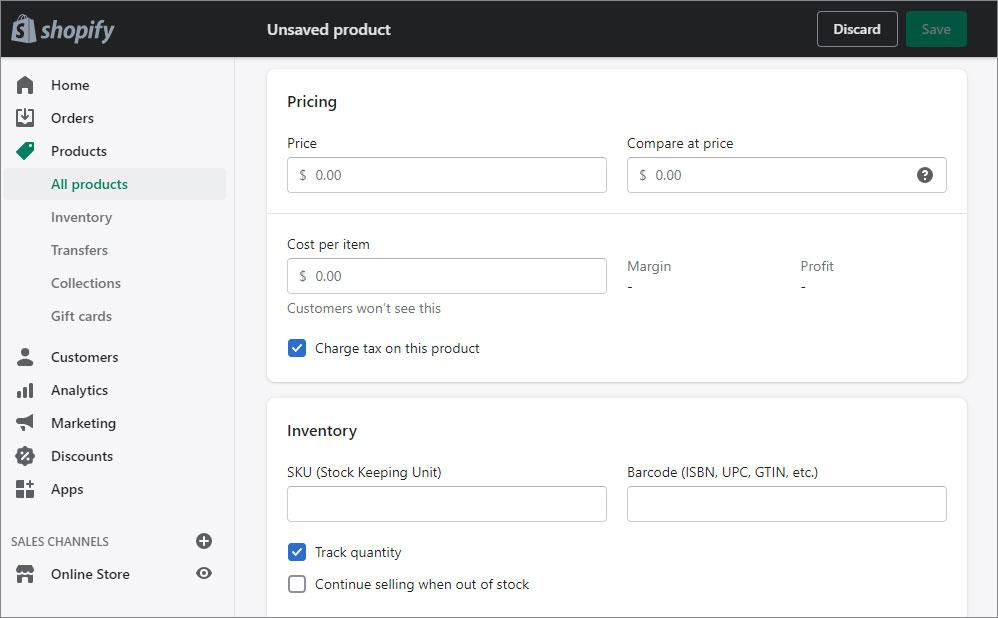
What to do next to build your store on the Shopify app store? Include the listing price of the products. Listing price is what customers pay for your product.
Furthermore, on the ‘Compare at Price’ field, add the original price of the product. Website visitors will see how much they save on each buy — prompting the visitor to make a purchase. The ‘Cost Per Item’ field allows you to enter the amount you spend to buy or manufacture the product. Thus, if you choose to add the cost, Shopify will show you how much profit you earn on each product that you sell.
You must pay taxes for each product you sell. Thus, add the amount to the price. Select the box titled ‘Charge tax on this Product.’ When you decide on a product price, consider attributes variables such as the product’s quality, raw material costs, and shipping charges. Never assume you’ll sell more if you sell cheap. Customers can think the price is low because of the poor quality of the product.
You can always change the product price.
Step 4: Track inventory
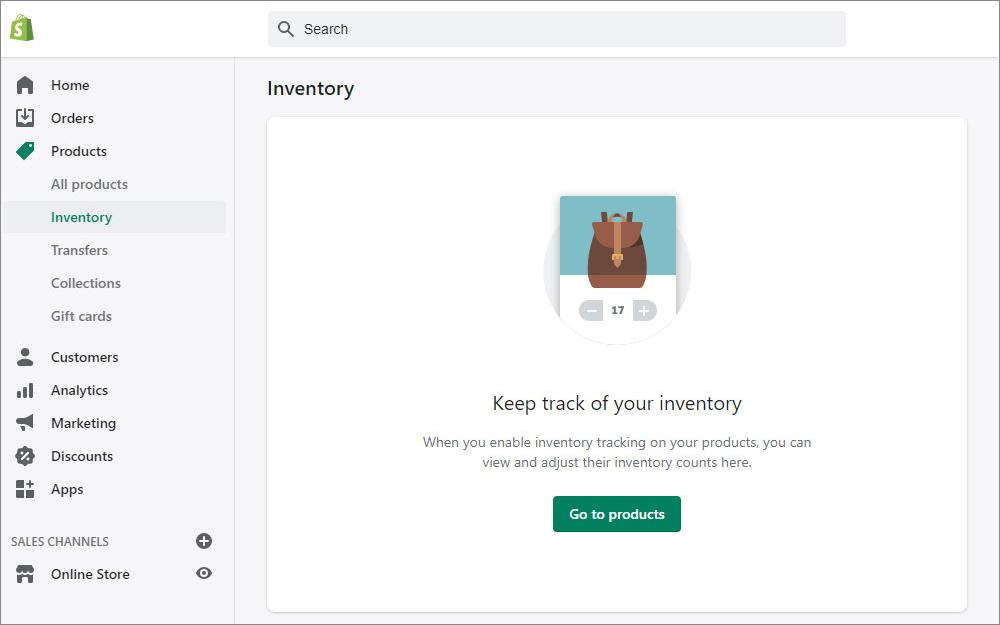
The Shopify app allows you to track inventories as well.
A Stock Keeping Unit (SKU) allows you to track inventory for the products. Furthermore, use scannable bar codes for each product. When a customer orders a product, you can scan the barcode and find the product within a second.
Furthermore, add how many product units you have at hand. If, for example, you store products in three warehouses, you can add them all to your Shopify store.
Step 5: Add about, contact, FAQ, and policy pages
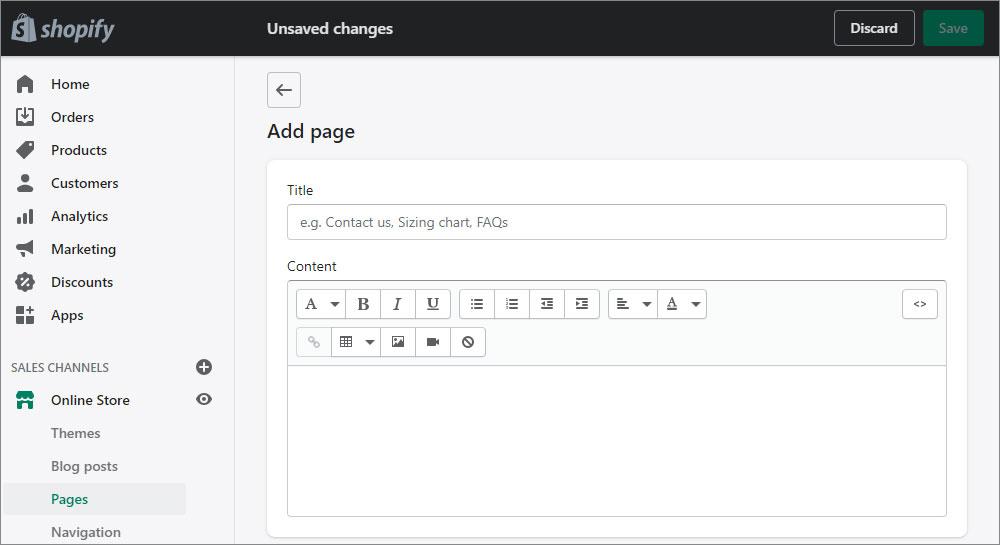
An About page, an FAQ page, and a Policy page add credibility to online stores. Visitors understand why you began the business. A visitor trusts a store with these pages more than a store without them. Go to the tab Online Store > Pages.
That’s it. You can create each page here.
- Write why you started the business on the About page. Describe your business model. The local newspaper featured your business? Mention that on the About page. Furthermore, link any relevant awards you’ve received.
- On the Contact page, offer visitors an email address and a contact form. You can add a business phone number and address as well.
- Answer the common questions customers ask on the FAQ page. Who won’t love a website that answers questions before asking?
- Add the privacy policy and return policy. Your business will earn credibility. Furthermore, the policy pages will protect you from disputes. You can create the policy pages under Settings > Legal.
Shopify offers a free privacy policy generator as well. Enter your address and email ID, and you’re all set.
Step 6: Finalize the theme and homepage
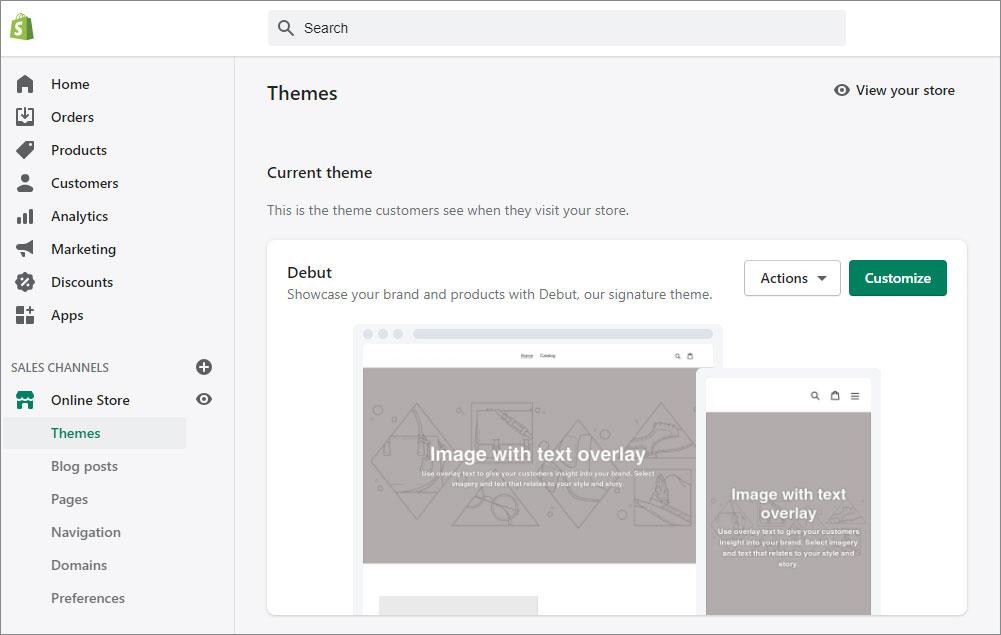
When you create a Shopify account, you receive a default theme. If you want to change it, head over to Online Store > Themes. Here, you can choose from the nine free and 67 paid templates the app offers. If you’ve chosen a theme but want to edit it. Click on ‘Customize’ to enter the theme editor. The menu on the left-hand side showcases each page element. Edit page sections, including header and footer or entire pages. Furthermore, you can add or delete page elements.
Page elements, including ‘Featured Collection’ are dynamic. What does that mean? You need to add a product range onto the ‘Featured Collection’ once. When you add new products, the feature auto adds those products to the Collection.
Want to change the font colors of the website? Go to Theme Settings > Typography. The changes you make here will apply to the entire website.
Step 7: Customize the checkout page
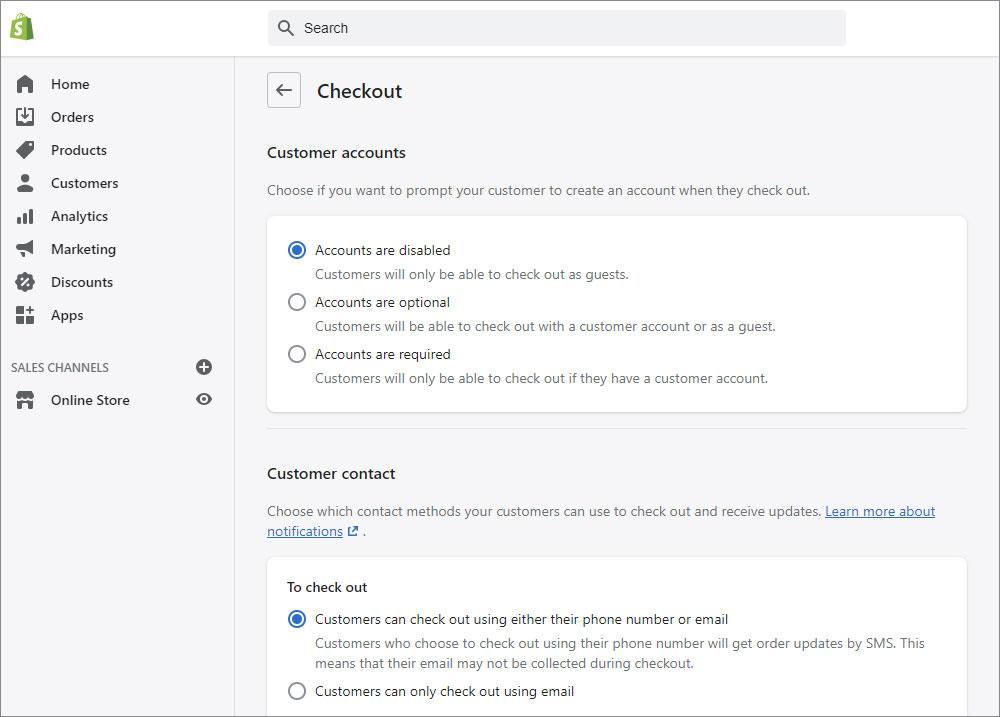
If you want to change the background color of the checkout page, go to Theme Settings > Checkout. You can see a live preview of the changes as well.
You can also choose if customers must create an account at checkout. Furthermore, you can ask customers to sign up during checkout as well. The process is useful in building email lists to use for marketing your products.
Step 8: Set up the shipping process
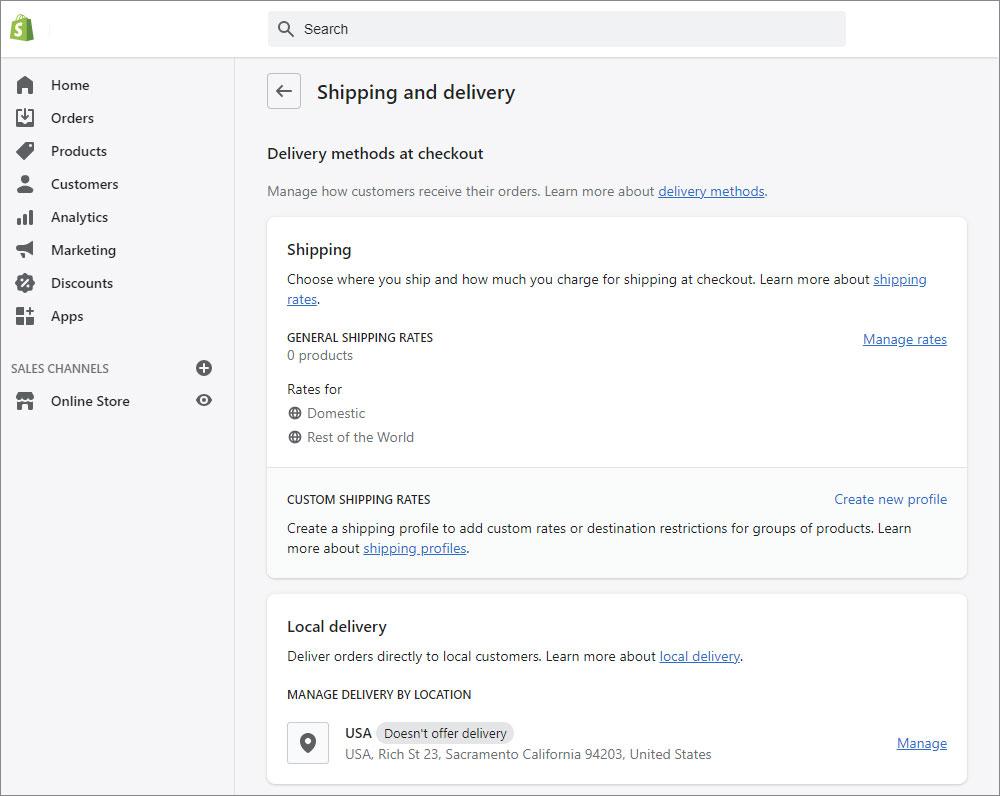
Go to Settings > Shipping to set up shipping options, package dimensions, and delivery companies you work with. Define the delivery area with ZIP codes, delivery zones, or delivery radius. (Note, customers love when you offer free shipping. However, be sure to factor the shipping cost into your product price.)
To add, you can charge real-time carrier rates. Shopify offers real-time pricing and shipping options with carriers, including DHL, UPS, and USPS. You can charge a flat fee as well. If you ship with Shopify, they offer up to an 88% discount on shipping.
Step 9: Include payment gateways
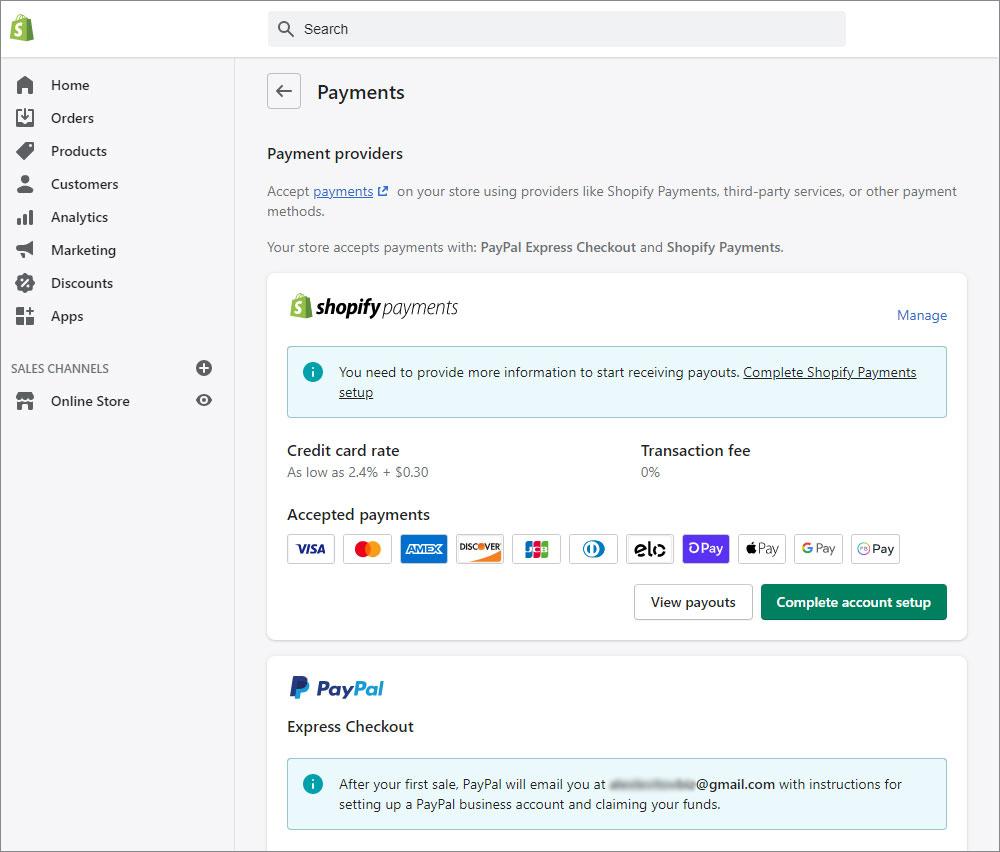
The final step is to add payment gateways. Head over to Settings > Payments to add your payment gateway. Shopify Payments allow you to accept payment methods (Google Pay and Apple Pay). Visitors can pay with credit cards (Visa, American Express, and Mastercard). You won’t pay any transaction fee as well.
You can sell in multiple currencies including the U.S. dollar and Candian Dollar. Set whether you want to receive payouts daily, weekly, or monthly.
Step 10: Launch the store
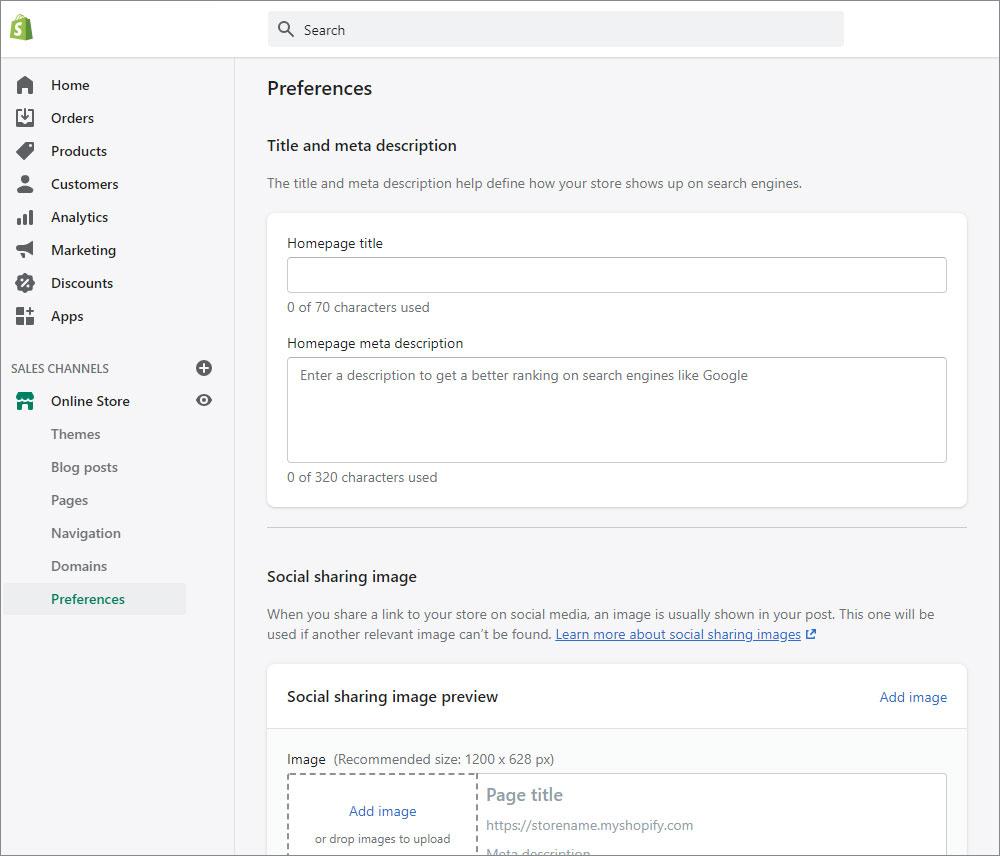
Your online store is all set. However, you need to disable the password protection to allow visitors to see the website. Go to Online Store > Preferences. Click on Disable Password. And that’s it. Your store is now live and ready to be used!
Parting words
Opening a Shopify store is the first step in your online business. If you offer high-quality products and market through social media, you will be able to increase sales. For more information, check out this Shopify review. It will guide you on the important Shopify features, advantages, and disadvantages.